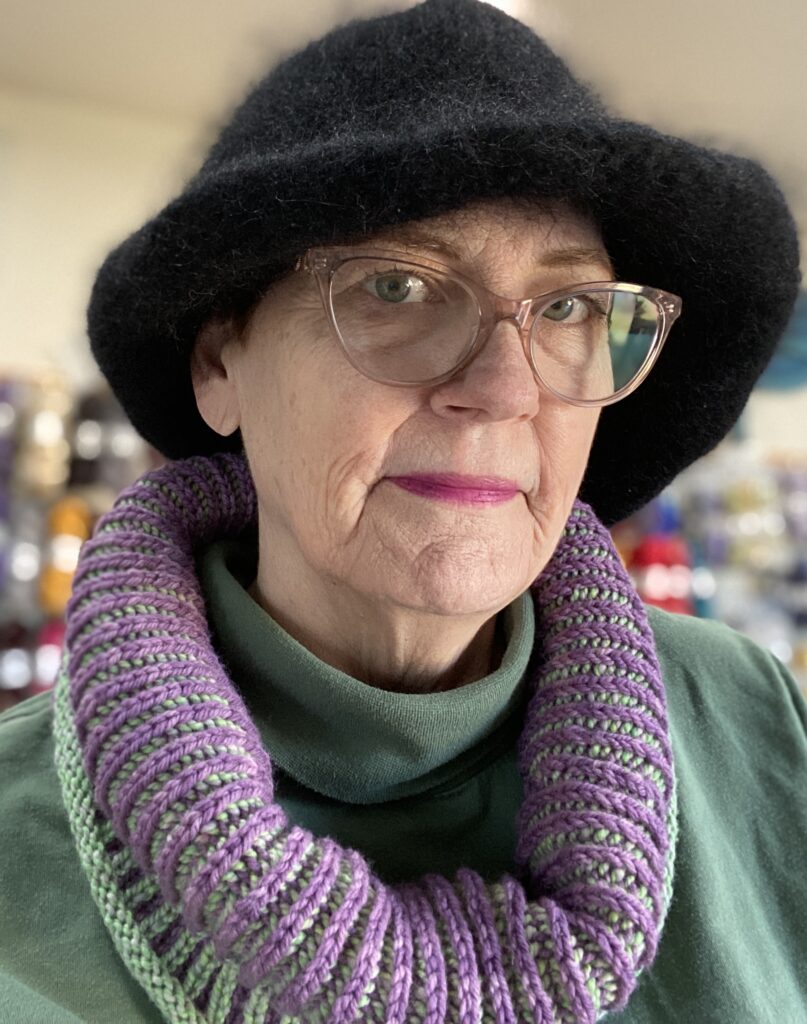
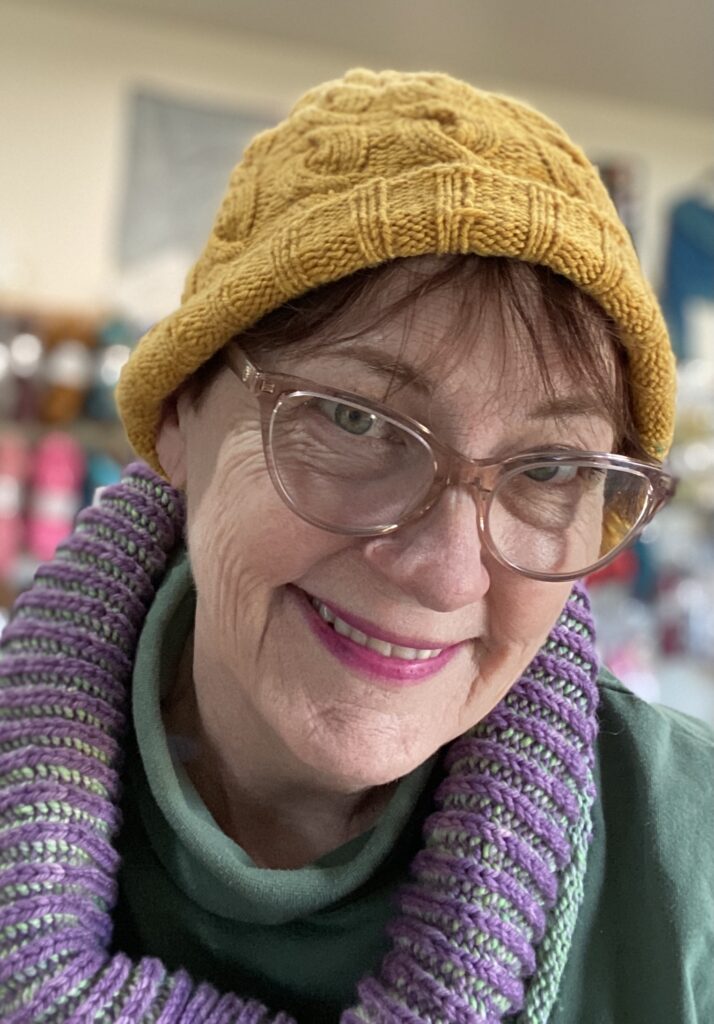
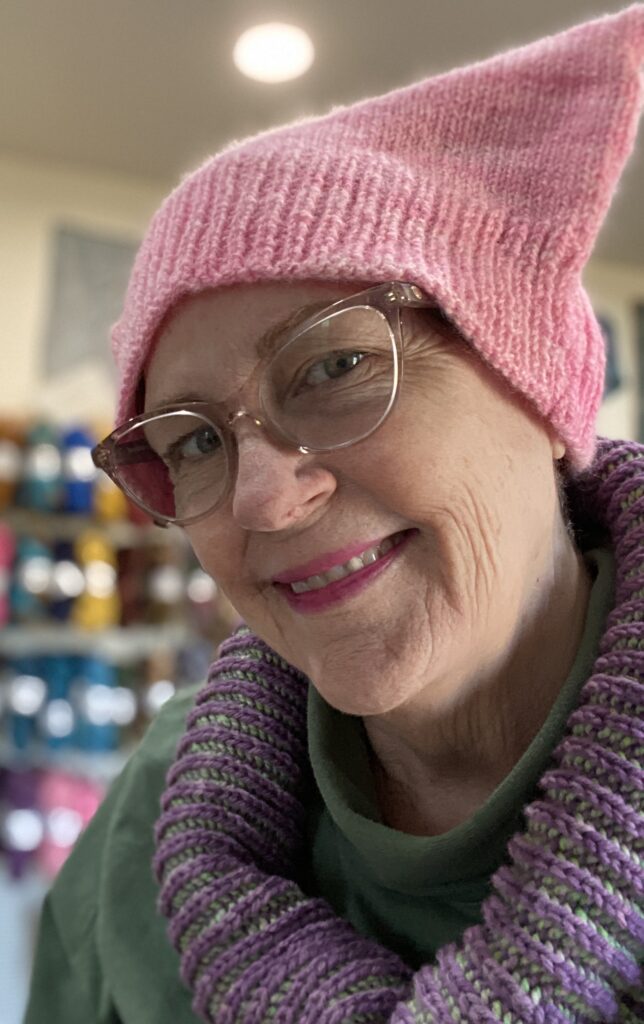
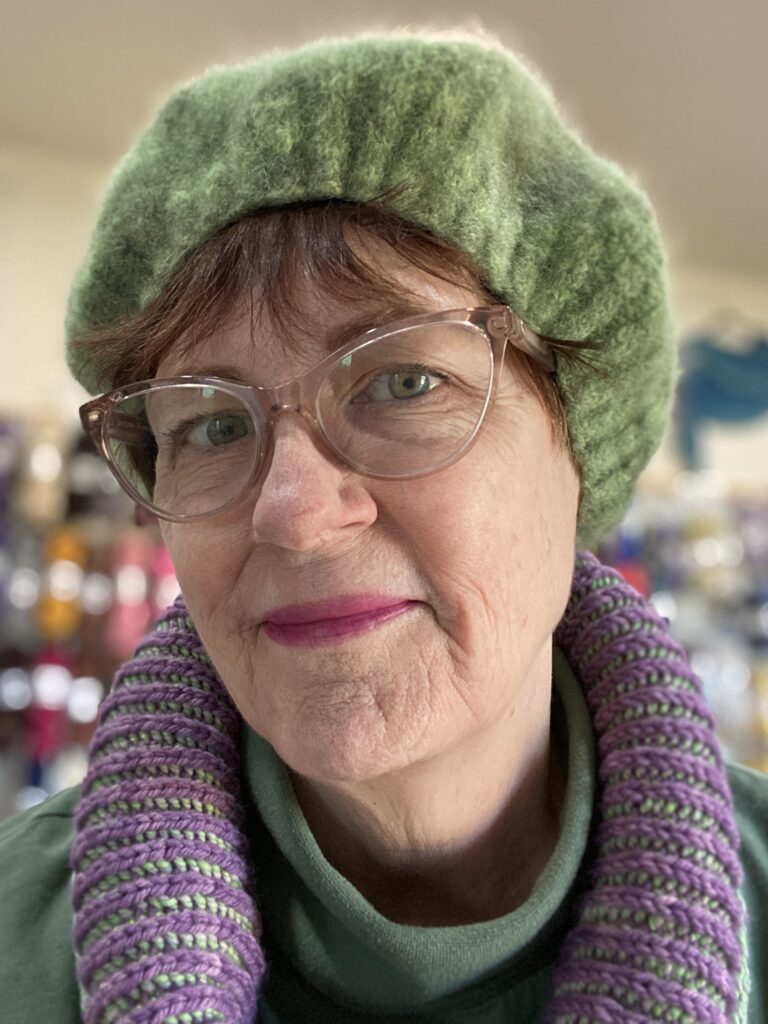
Working on hats this month in preparation for Farmer’s Market at the beginning of April. I think I can get a few of these hand knit garments made. And if you’re wondering that’s a brioche cowl made with a semi solid Livily and a marled Synergy yarn.


Working on hats this month in preparation for Farmer’s Market at the beginning of April. I think I can get a few of these hand knit garments made. And if you’re wondering that’s a brioche cowl made with a semi solid Livily and a marled Synergy yarn.
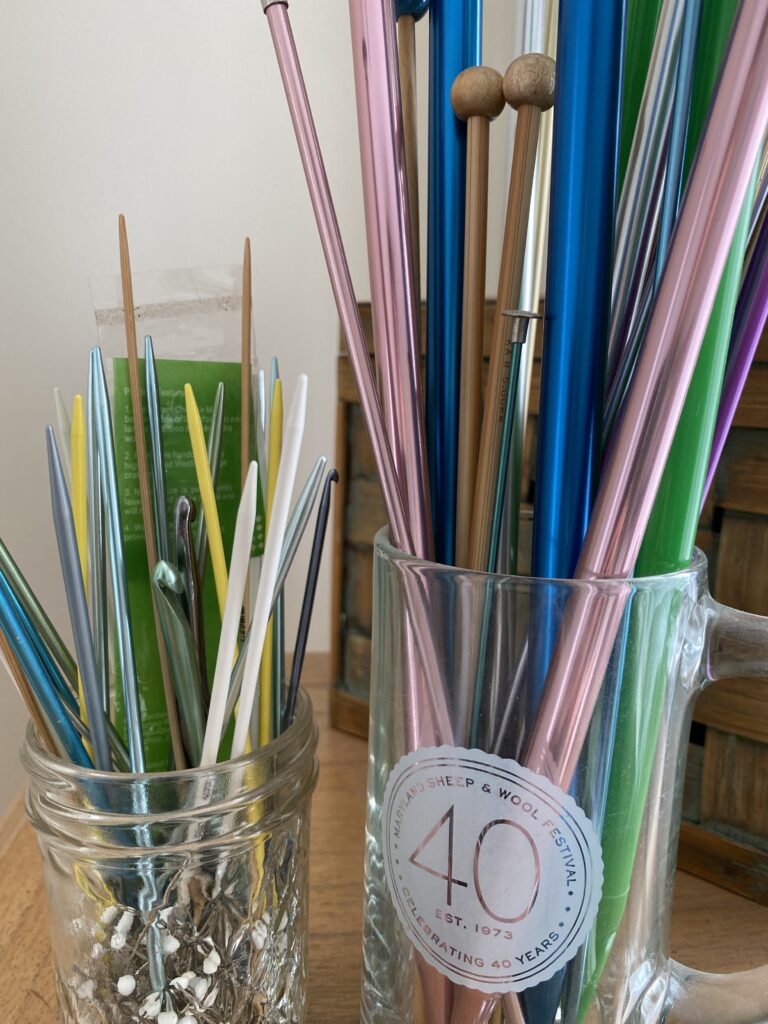
In this episode, Lisa walks you through your needles, hooks and notions. We’re almost at the end of really having the collection that you love. So join in and address all those needles, stitch markers and gauges.
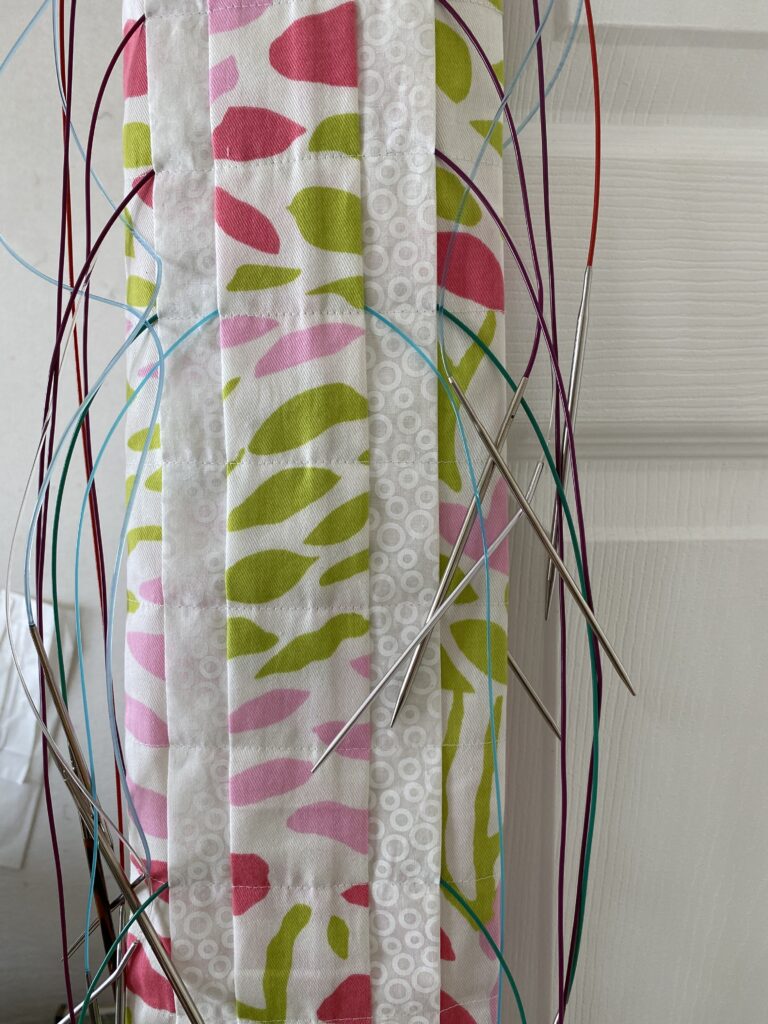
Go from total disorganization and duplicates to knowing where all your needles and notions are and what you actually have. Stop buying extras because you can’t find that elusive set of needles. Click here to listen or subscribe on itunes here so you don’t miss an episode.
I love to learn new things. Have you always wanted to learn how to dye or how to spin or how to knit socks two at a time? During this time of social distancing, I’ve turned my popular dyeing classes into an online course. And because I have the luxury of time, I’ve added a lot of extra lessons that are available only in the online class.
My online classes are rich with lessons that will develop your dyeing skills and also your color confidence. You will be able to tune in at a time that makes sense to you. You can view and review the lessons as many times as you wish. But you aren’t doing this completely in a vacuum, there are weekly Q&A sessions and a discussion board to communicate with me and other students in the class. You will end up with colorful skeins that you can use to knit socks, shawls or anything really.
The next 4 week Dyeability class will be starting on April 5th. This is Dyeability 1: Self Striping Yarn for Socks or Shawls. Click here to find out more about it. The class is usually $99. But, I am currently offering a $20 discount with the coupon code iheartyarn. Sign up and and gather your materials and we will have a great time dyeing yarn in April!!
Each week I do a Facebook Live session (Thursdays at 1pm). And each week I try to give my viewers a tip or two that might help in knitting, spinning or color confidence. Yesterday my tips were to help you make charts easier to understand and read.
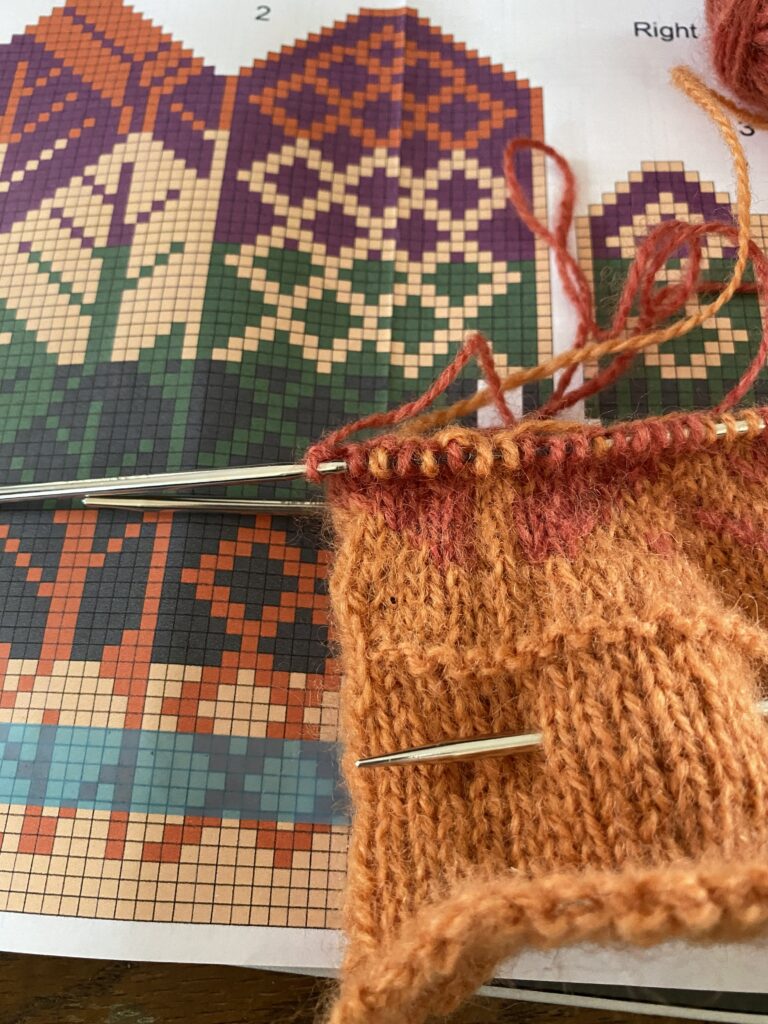
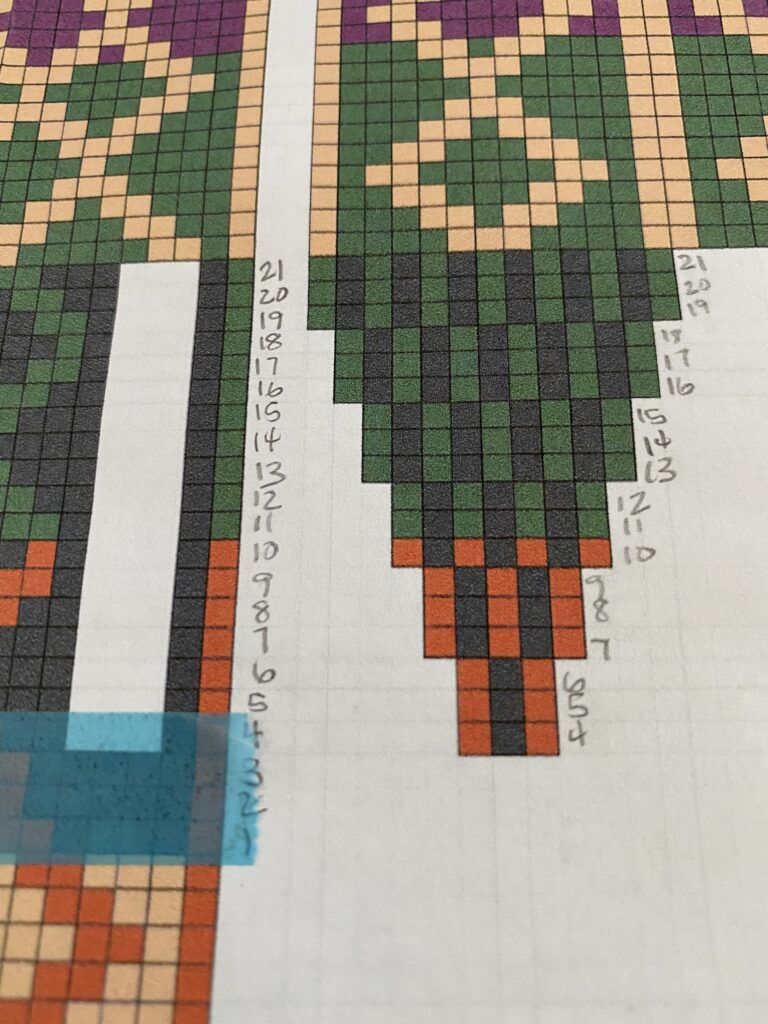
This is not to disrespect any designer. It is just to make life easier for me, the knitter. It’s really fine to make changes, to add rows so the garment fits better. You have spent time. You have spent money. This knitting is supposed to be fun, not stressful, not frustrating. So take care of yourselves, my dears!!

I’ve had a couple of productive weeks lately. Oh maybe that’s because I broke my leg and so I have to sit more than I usually do. So I finished my Fibershed sweater. I finished fixing the cormo hat that was too short. And so yesterday I started this. It’s a mitten pattern. It is a kit that I bought from Riihivilla. The yarn is made from their finn sheep. And she uses natural dyes. What has fascinated me about her dyeing is that she uses lichens and mushrooms, things that are hard to find here in my area. I love reading her blog as well. She of course writes in Finnish but then has a really good English translation too.
I use Highlighter tape to keep my place in the pattern. The deal that I’ve made with myself it to leave the tape on the row I’ve just finished if it is time to quit for the day. So when I pick this up later today, I know I will change the tape to the next row. I have 4 more rows to go and then I will turn the hem up and knit the two rows together.
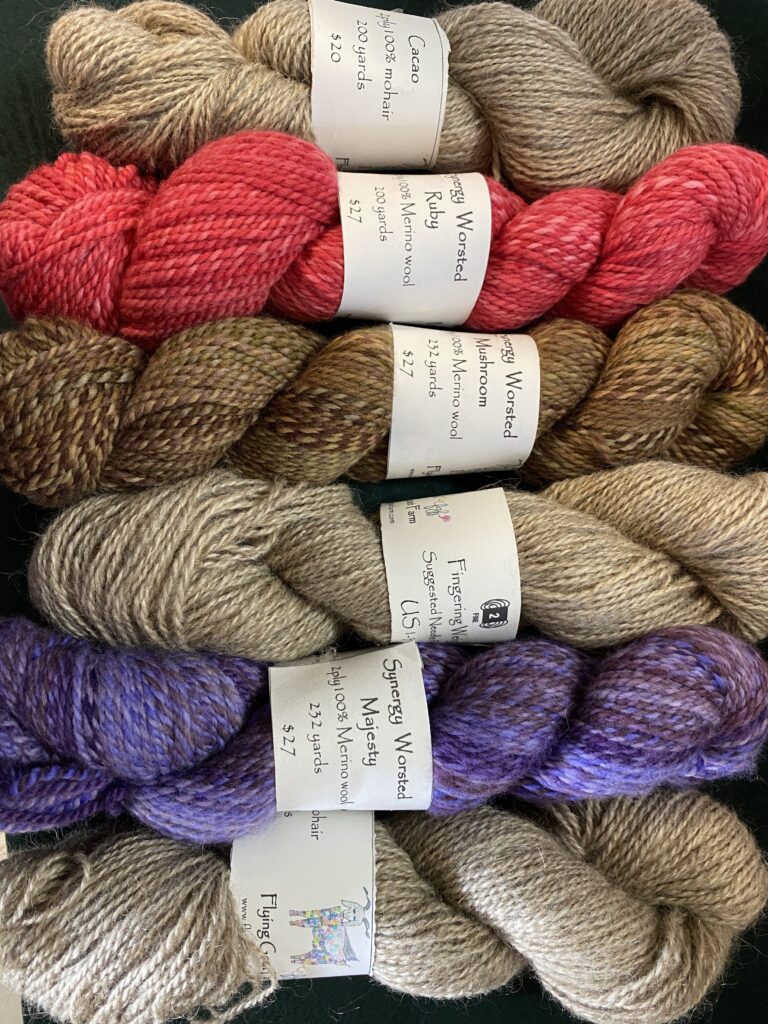
In this episode, Lisa talks about becoming more confident putting skeins together for a beautiful garment. Lisa also talks about what you can do right now to build your confidence in combining colors of yarn or roving in your collection. If you are joining Lisa on this adventure to finding love within your collection, she outlines some specific steps you can take this week to move from stash shame into full and unadulterated love of your collection.
Everyone is so afraid of cutting your handknits. Somehow there is the feeling that it will just begin unraveling in your own hands in a matter of seconds. Like your sweater is turning into sand and falling through your fingertips. That’s not what happens.
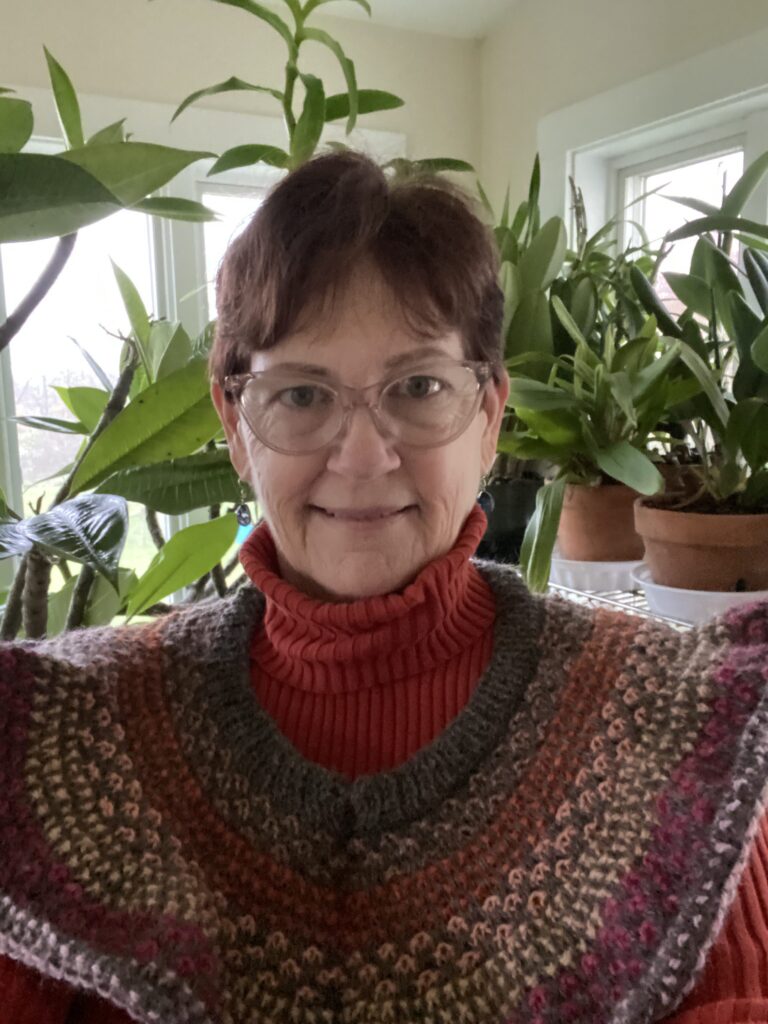
Well, yes I was afraid too. But I took the plunge. I took a class in steeking. And we students used thrift store sweaters to work on. And I found that it was a simple thing to do.
You do have to plan for the cut. And what I mean by that is this. As you set up your sweater you need a section where you will cut. I have found that adding 2 purl stitches is perfect, you can cut between those stitches.
When you are finished with your sweater, you need to block it and dry it. And then you are ready to cut. Watch this video. I hope that you will gain some confidence to cut apart your handknits.
You know that feeling when you finish a pattern and the garment just doesn’t fit? I do. I’ve had it happen a number of times. This hat has been on my to-re-do pile for a while. It is just too small.
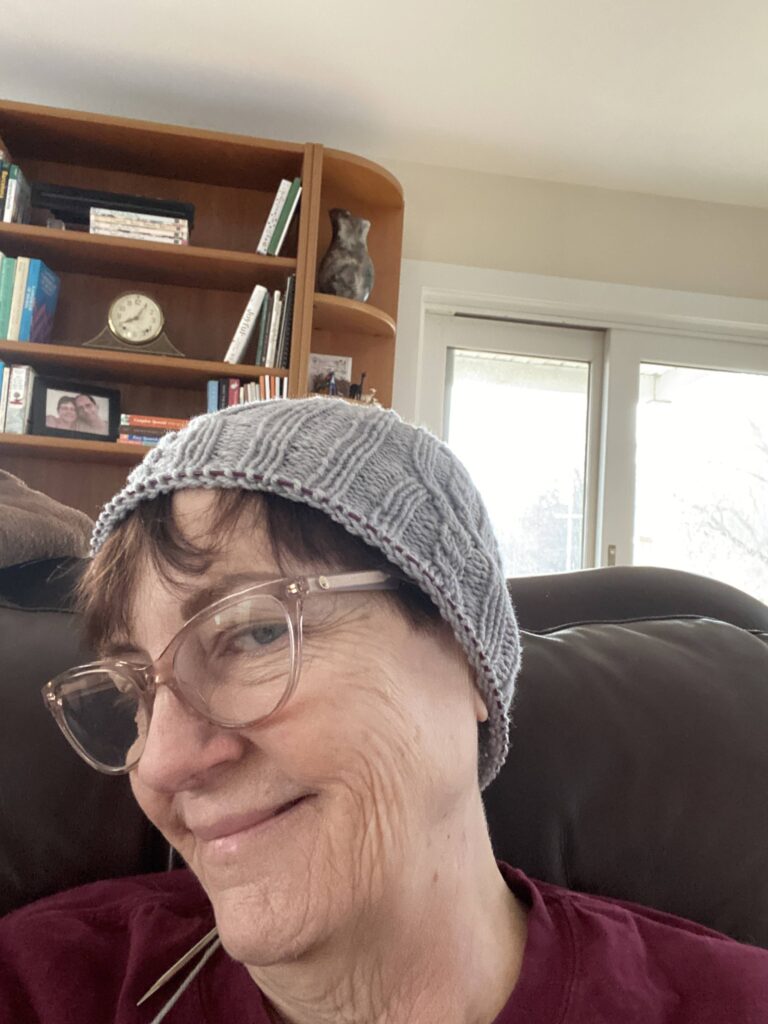
Thankfully, I have some of this same yarn and colorway that was returned from a sample knitter. So I decided to pick up the edge and just knit a ribbing on the hat. For some reason, this pattern doesn’t have a ribbing on it so it made sense for me to add one to make this a better size for me.
I made sure that as I picked up the stitches the “seam” that happens went to the inside of the hat. There will still be a slightly visible line, but I’m OK with that.
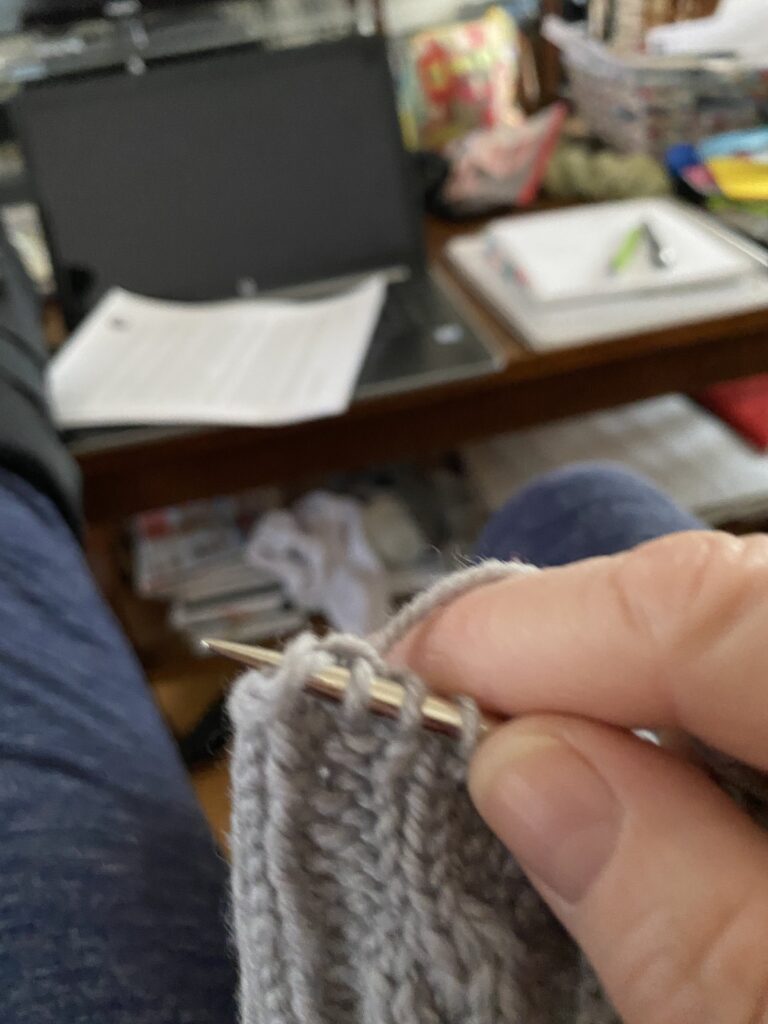
I’m thinking that I may make a doubled rib edge on this. That is when you make the ribbing twice as wide as you want. Then you fold it and do a 3 needle bind off to “sew” the end of the ribbing onto the inside of the hat.
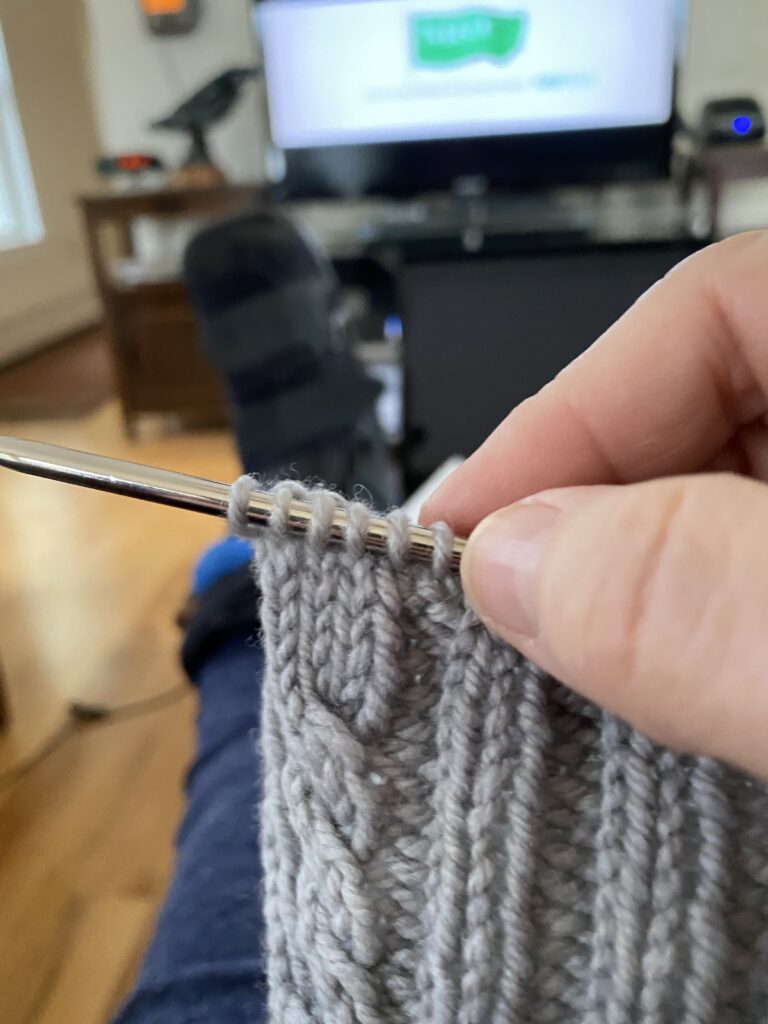
Would you ever try this? Have you ever done something similar? Or do you rip it all out and start all over again?
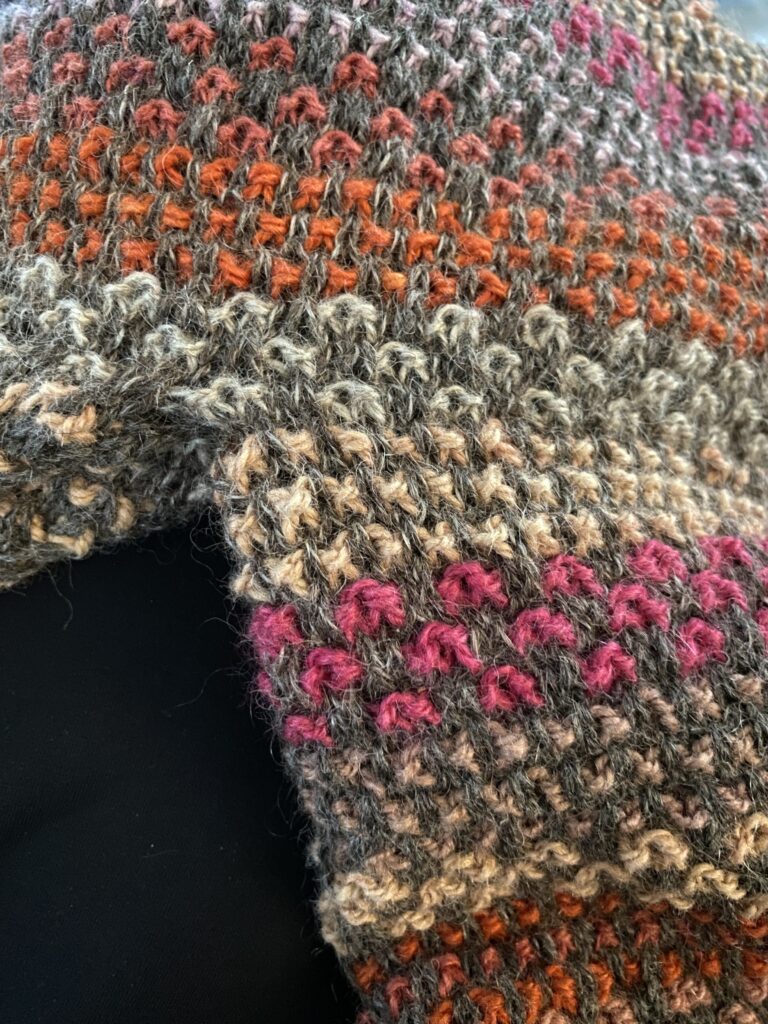
This is my Fibershed sweater. I’m working on the sleeves. And it’s almost done. I’m beyond the elbows. What’s taking so long you ask? Well I’m doing the sleeves two at a time. I’m doing a series of blips which is a 12 row repeat on one sleeve then switching to the other sleeve and repeating that and so forth. That way the gauge is even. And I pattern is even. And the decreases are in the same place without really having to count.
What have I learned? well I’ve learned a few things:
What are you working on?
In this episode, I talk about visiting, really visiting your collection. This is the first step to go from shame to love! I know that some of you have a pretty big collection that may not just be a few bins but a roomful? There’s a strategy for that as well.
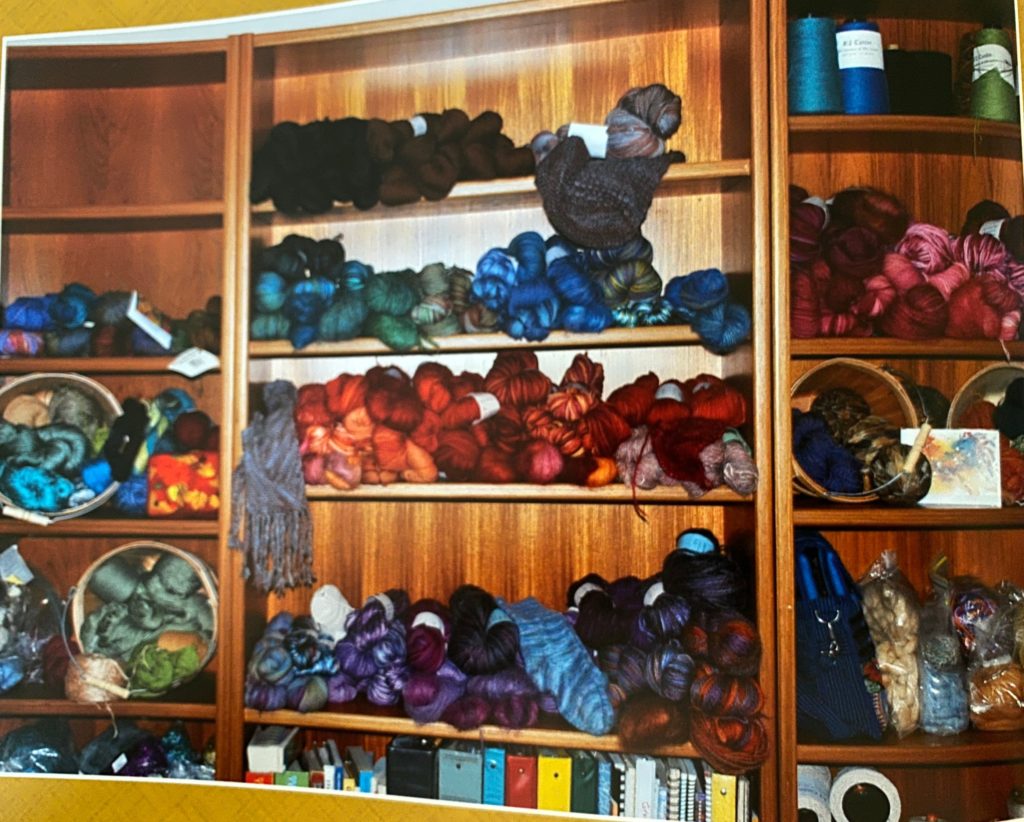
Last year, just before the pandemic hit, I went through my quilt stash and changed it to a collection of fabric that I truly love. I did 1 bin a day. It took a week as I recall. I went through each bin and really visited each piece of fabric. I did KonMari** on it. If it brought me joy, I kept it. If it was just “meh”. I put it aside to donate. I am so glad that I spent that time. I’m so glad that I did a little a day. I just spent an hour or so. But did it day after day. That way I avoided overwhelm. So I’m suggesting that you do that too.
I know that after you listen to this episode and doing the simple steps that I suggest, you will feel the excitement and yes, the LOVE of your collection!
** The KonMari method was pioneered by Marie Kondo, the Japanese Organizational expert